Landscape photography seems simple to most people – there’s a pretty scene, you walk in, take a couple shots and you’re done … and chances are that you end up with a version of the scene that everyone else has. So how do you take your “snapshot” to the next level? Other than the “straight horizon” suggestion that you may have heard before, here are five basic tips you can try out when next you are on the field to help you take better landscape photos:

1. Survey Your Scene
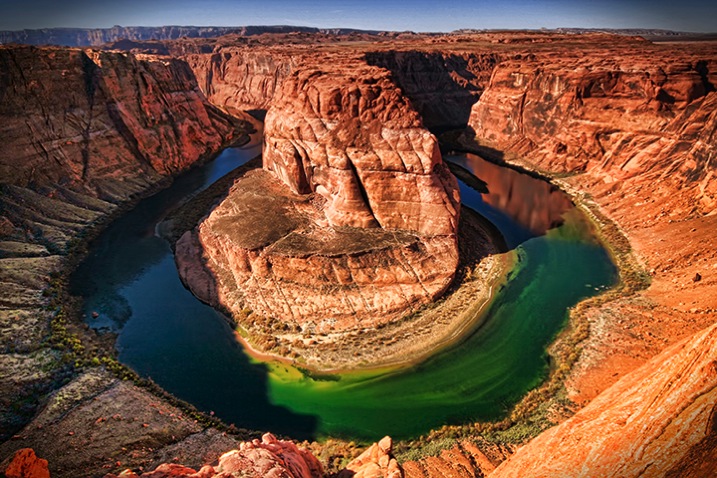
Think about the scene differently. Is there another angle that you can shoot from? Can you get your camera higher or lower? Scouting your location to find different and more interesting vantage points is time well spent. Also check for elements of interest in the location that can be used to give your photo a sense of scale or add texture. So take a moment, survey your scene, take a chance, shoot from a different perspective and see what you might have missed initially.

2. Look for the Light
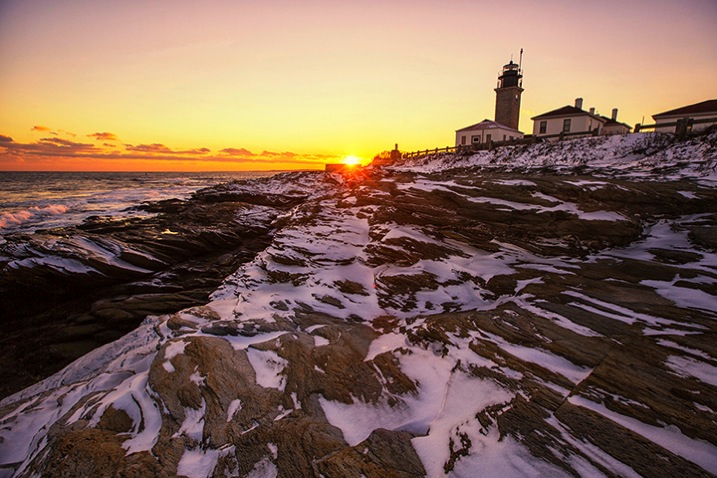
Most surreal landscape photography moments happen in the golden hours (dawn and dusk). Sunrise is definitely worth getting out of your bed for in the wee hours of the morning, and sunset is a nice exercise in patience to catch that ideal, magical light. It certainly helps to do research before you head out to determine where the sun rises and sets, or even which season works well for the area you intend to shoot. If you’re still unsure about your directions, walk with a compass (a compass apps for your phone is an easy way to always have one with you).


There is no harm in light chasing during the day either – sometimes it’s the only time you have with a scene, and you have to make the most of it. You need to be aware that shooting in harsh sunlight produces very contrasty light, which means that you don’t capture much detail in the highlight and shadow areas. An overcast, or cloudy day, softens the light a bit. Outside of the golden hours, the key would be to find an angle where the light is flattering to your subject, or put the sun to your back and give it a go!


Note: I have found that midday sun works well for infrared landscape photography.
3. Lines and Repetition
Lines and repetition in a scene catch your viewer’s attention almost immediately, and serves to lead them into the photo. Lines also encourages their eyes to wander around the photo, especially if they start at a corner of the frame. Think about photos of roads and fences, and even the angle of the ocean when composing your shot. Repetitive items or patterns also have a way of holding your viewer’s fascination, and they are everywhere – any element that creates a nice line or geometric shape can give your images structure and form – look for them!


4. Foreground Elements
Placing a foreground element in your shot gives the image extra depth and dimension. It can also be used to convey scale and distance, as well as balance out your photo. A dominant foreground object can draw your viewer in, and quite simply makes your photo a more interesting one.


5. Use a Tripod
There are different schools of thought on the necessity of always having a tripod, and yes there are many times you can get away without having one. However, outdoor photography comes with many elements of movement, from a gentle breeze to crashing waves, to the sun – something is always moving. Sharp images are ideally what you want, and using a tripod is one way to deal with such movements.
Tripods are also a must for when you lengthen your shutter speed. You may do this for several reasons; the most common are when using a smaller aperture (higher f-numbers equals smaller aperture opening, which equals less light hitting the sensor) or shooting long exposures (where moving elements are blurred intentionally, e.g., that silky water effect).


Conclusion
Many of these may not be new to you, but the key is remembering a few when you are out there, and trying to make that scene before you, one that is your own. Maybe you’ll spend a little more time surveying the scene or perhaps looking for lines and repetition?
Feel free to share any of your landscape photos that you think successfully utilizes any one of these tips in the comments below.
The post 5 Tips for Better Landscape Photos by Nisha Ramroop appeared first on Digital Photography School.